Let's walk in a minefield
If you manage an infrastructure, you probably always know the same problem: how to properly manage the blacklisting of malicious IPs. If you are on hybrid infrastructures, without adequate equipment for firewalling, this question often arises all the more. And if you want to be proactive, by securing the whole platform, as soon as a machine detects abnormal behavior, it becomes critical. Fortunately, an opensource tool, MineMeld, allows you to manage this situation, with a minimum of work.

Star Trek - Mind meld - Paramount Pictures
Avant-Propos
(Image inspired by the iTWire article on MineMeld) Not all of us can have next-gen firewalls. On the other hand, we manage servers and can deploy more and more of them. We will therefore focus on this case.
Quick presentation of MineMeld from the official Wiki:
MineMeld is a community supported tool to manipulate list of indicators and transform/aggregate them for consumption by third party enforcement infrastructure. MineMeld has many use-cases and can easily be extended to fulfill many more. Check this page for a brief list of currently supported nodes/feeds.
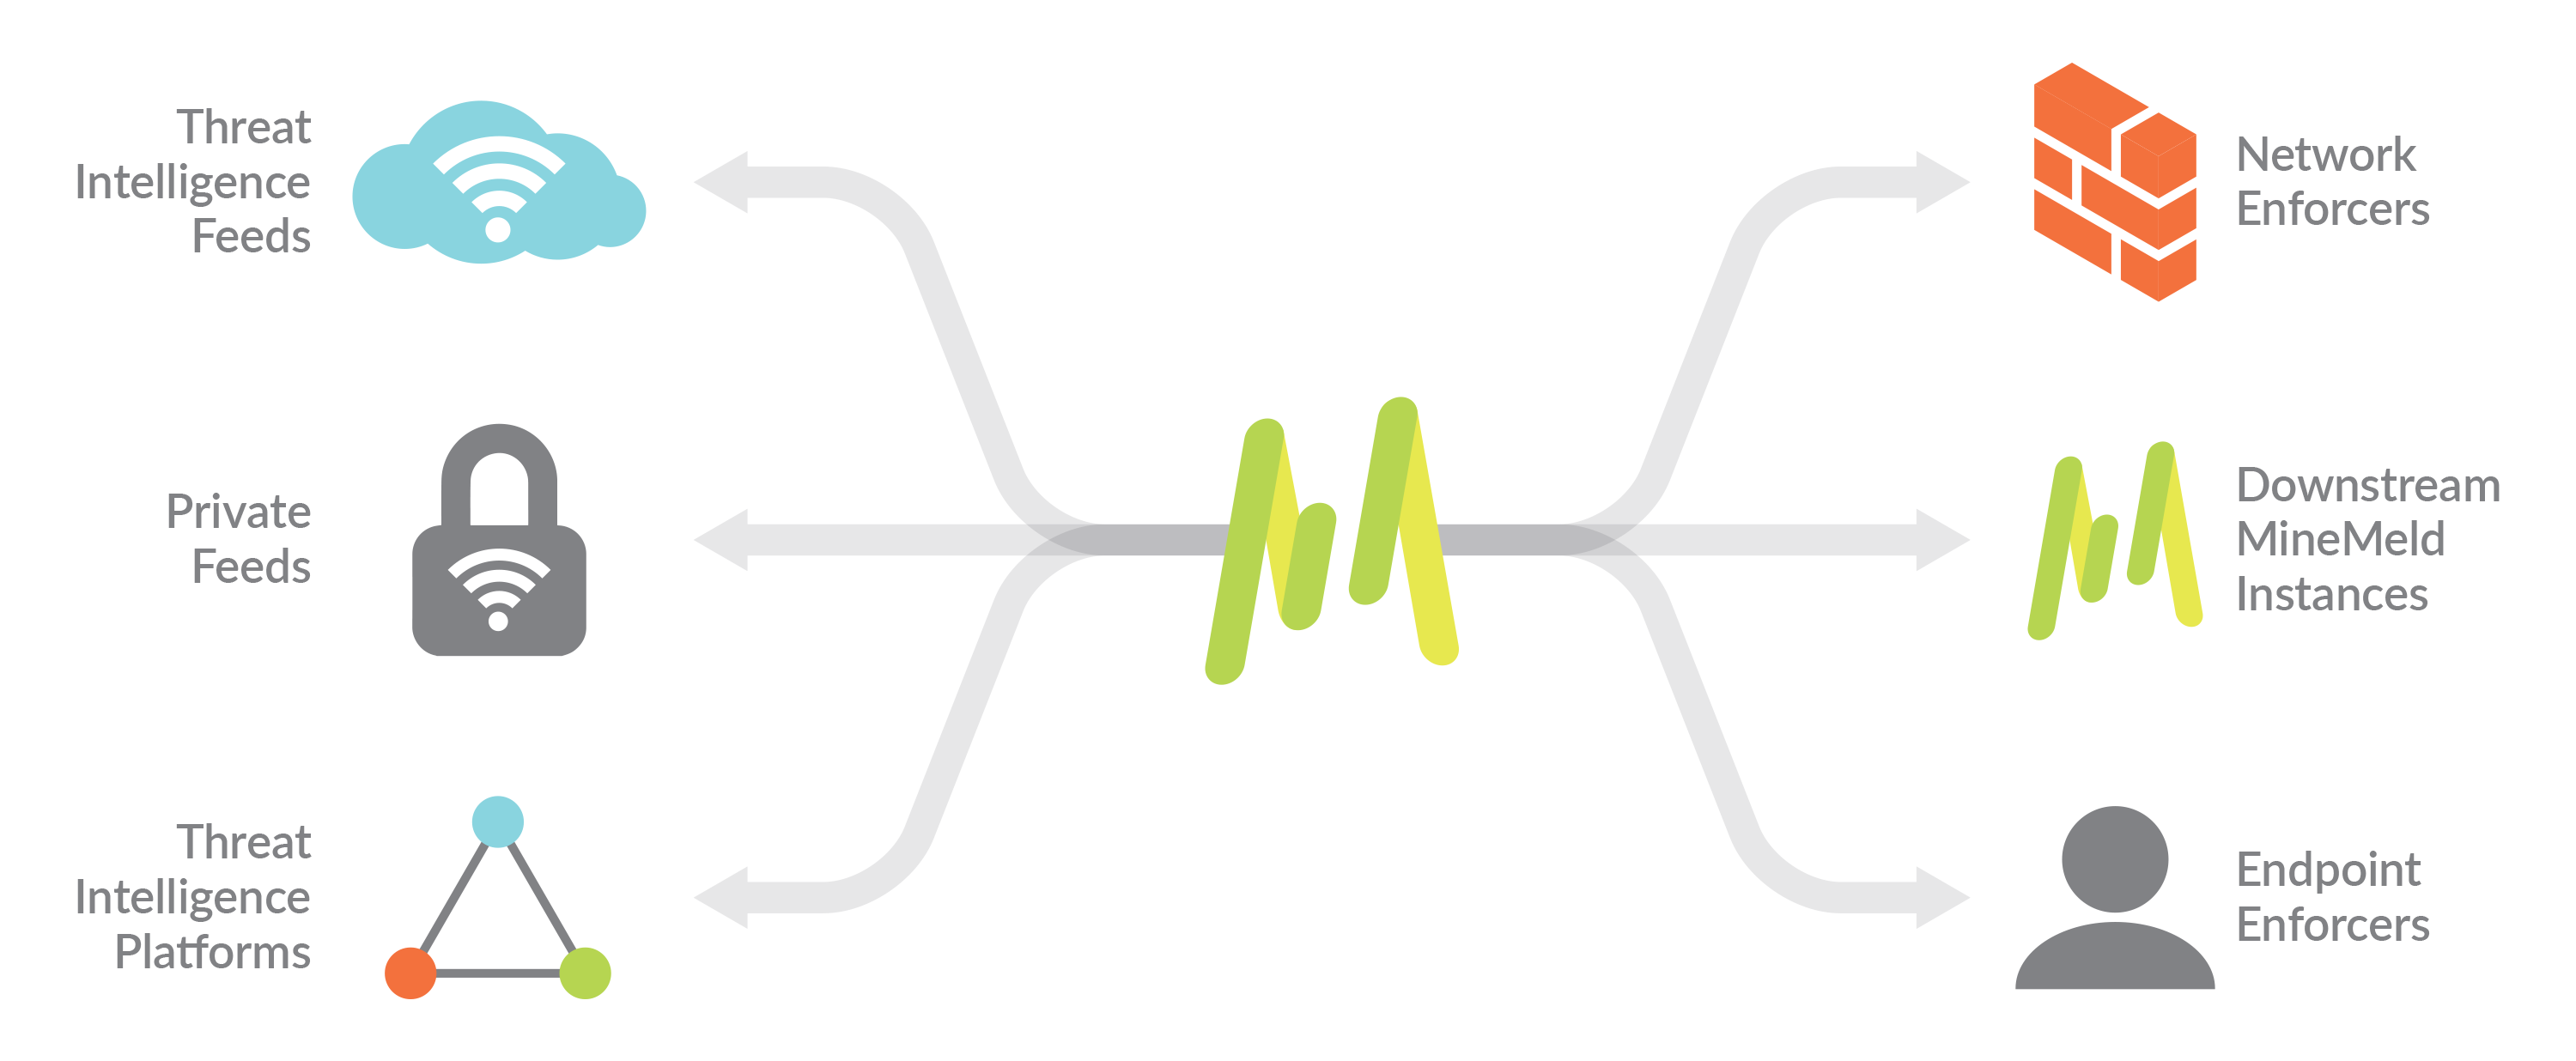
With non-hype words, it’s a mean to centralize all your blacklist and scorifications in order to manage your threat prevention: it imports multiple feeds, analyze/dedup them, in order to output clean feed you’d be able to use.

MineMeld diagram
The project is opensource and can be installed on a bunch of old Linux distros: the word “old” is quite important but we can deal with it. For the rest of it, I’ll provide some scripts via GitHub.
Suit up !
So we start with the installation of MineMeld. As said above, they officially support old distributions. Go figure! However, their doc explains a little bit the process for the installation on Ubuntu 18.04 for example. A little less old, I decide to start on it.
I won’t detail their installation which is done via an Ansible playbook. Rather readable, if you want to do something else, it should not be complicated.

The Hurt Locker - Kingsgate Films
Post installation, the service seems to start, but generates many errors in the logs, mainly concerning a ‘ujson’ python library. Nothing in the MineMeld documentation. However, my best friend, Google, quickly finds the answer: you have to replace the library provided by the package, by the library available in Ubuntu repositories.
sudo apt install python-ujson
sudo mv /opt/minemeld/engine/current/lib/python2.7/site-packages/ujson.so /opt/minemeld/engine/current/lib/python2.7/site-packages/ujson.so.bak
sudo ln -s /usr/lib/python2.7/dist-packages/ujson.x86_64-linux-gnu.so /opt/minemeld/engine/current/lib/python2.7/site-packages/ujson.so
After a restart of the MineMeld service, everything is running smoothly and you can finally authenticate. If you are looking for the default credentials: admin / minemeld .
Getting to know MineMeld can take a little time. I’ll give you the first few configuration items from our use case, then let you get familiar with it. Of course, I am always available if you need my assistance.
I want to blacklist
Now that the service is in place, it’s time to configure it, before you can take advantage of it on your different servers, but also to keep it up to date with your own IPs to blacklist.

Queen - I want to break free
All scripts I provide here are available on my GitHub account.
Prepare MineMeld
When you are logged in to MineMeld, you will see different menus:
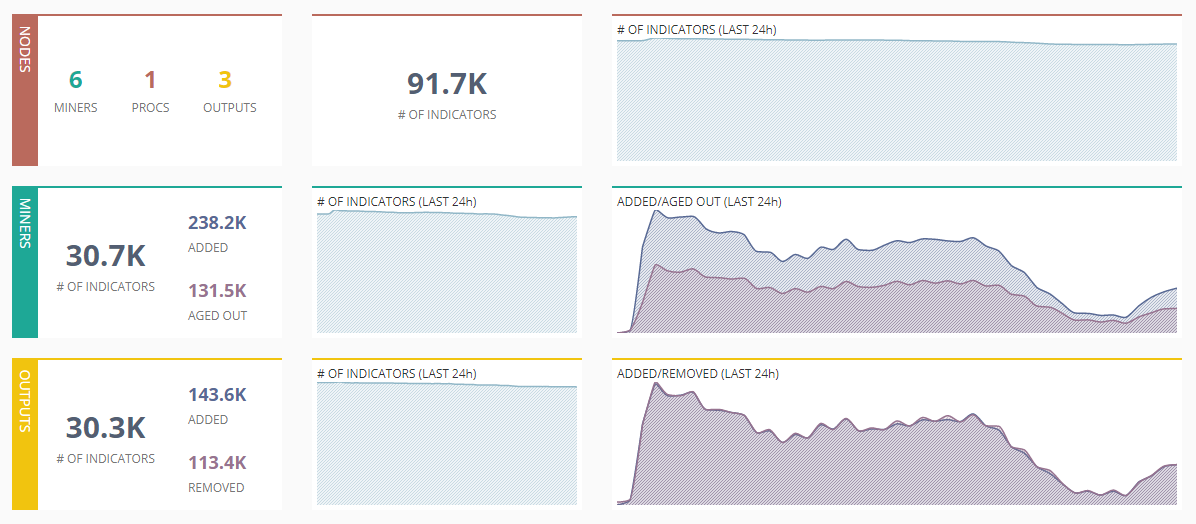
- Dashboard: the home page with a reminder of your statistics
- Nodes: to configure your different nodes (miners, feeds, aggregators, …)
- Config: to load your various (proto)types of nodes you would like to use
- Logs
- Admin: to configure your users
- System: to see how things are going from a system point of view

Dashboard MineMeld
So the first step is to go to the Admin, and to manage your users for a minimum:
- change the admin password
- add a user whose login and password you will use for the scripts detailed later in this article
Then, let’s go to the Config, to manage the prototypes we want to have. In my case, I usually use at least the following ones:
- blacklist_of
- spamhaus DROP & EDROP
- dshield
- wlWhilteListIPv4 (the ‘wl’ prefix is important)
- an inboundaggregator to which I assign all the miners
- an inboundfeedhc (for High Confidence) of feedHCGreen type
To which I add my own ‘localDB’ blacklist. You can simply view/add new nodes by clicking on the list button at the bottom of the table:

Config list
The default configuration of the various nodes should be suitable for the use we detail here. However, you have to add the IPs that you don’t want to see blacklisted. To do this, simply edit the wlWhiteListIPv4 Node.
Be careful, the name of this node is a fake friend: it does not generate a whitelist, but just makes sure that the IPs listed there do not appear in the aggregate that you will generate at the end.
Finally, the last point to consult is the URL of the output stream. It is a matter of looking at the URL announced in the configuration of the inboundfeedhc Node. For practical reasons, it will be necessary to add the query ‘?tr=1’ to have a CIDR writing of the IPs. For ex:
http://
/feeds/inboundfeedhc?tr=1
Benefit from MineMeld on Linux servers
Now that the service is setup, let’s benefit from it. Easy way, is to rely on kernel’s ipset. So don’t forget to install ipset.
I found a bash script that can use blacklist feed and source them to ipset (and maintain the local list based on the feed age). As the script was doing part of MineMeld job, in a very long time, I had to amend it a bit. You’ll find my version here.
Don’t forget to edit it with two information:
BL_URL: with the URL from your inboundfeedhcMAIL_ADMIN: with your email address
You can also provision a (real) whitelist by adding IPs to /var/lib/blacklists/whitelist.txt . If you have specific IPs you want to blacklist only on that hosts, you can edit the blacklist.txt file at the same location.
On my end, I prefer to run this script at least once an hour, while keeping the possibility to run it on-demand.
On all my servers, I use fail2ban to parse my various logs and generate ban actions. Let’s update it with a new action: simply import the file fail2ban-minemeld.conf to /etc/fail2ban/action.d/minemeld.conf and then update your /etc/fail2ban/jail.localwith a new value for banaction: ‘minemeld’. Also, import the new ban/unban scripts and you’re done after a restart of fail2ban.
The later scripts are to be updated with the proper fqdn and credentials to access your MineMeld API.
That’s all folks
Now, you’re set with MineMeld as a centralized blacklist management for your non-next-gen firewallis. This can also be used as a feed for the NG-FW plugin from pfSense, for instance. Yet, it can still be improved, based on your needs, as via created a real output feed for your whitelists, or with different management of the blacklists.
Do you consider this useful ? How would you tackle such use case ? Feel free to ping me and share your thoughts.


