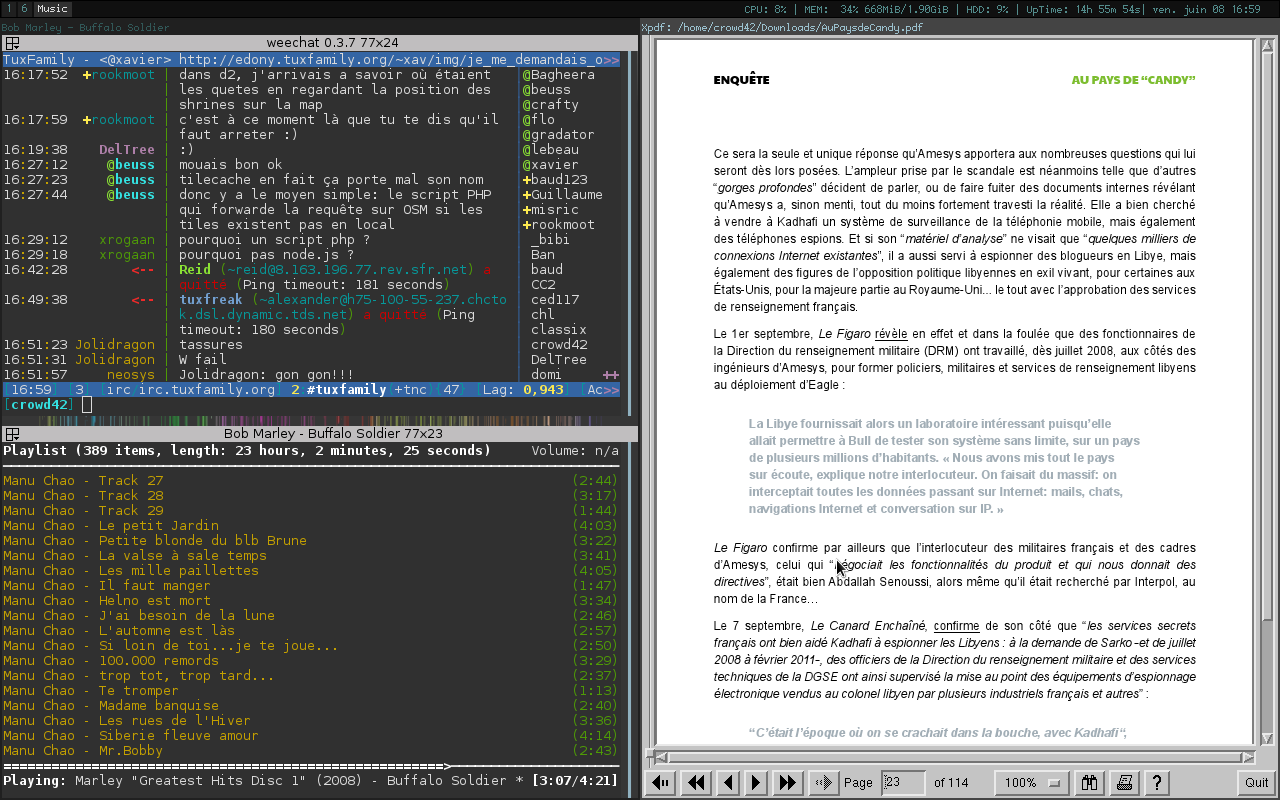
Mon bureau sous Fedora et le gestionnaire de fenêtres i3
Il y a quelques semaines, j’ai décidé de passer mon laptop à Fedora 17 Béta sans attendre sa stabilisation et sa sortie officielle, attendue vers la fin de ce mois. Globalement, je suis satisfait, sauf peut être pour Gnome Shell qui devient avec chaque nouvelle version, de plus en plus gourmand en ressources. Mais ça c’est une autre histoire, que je vais probablement vous raconter dans un autre billet. Pour l’instant, je vais me contenter de vous présenter mon nouveau bureau sous i3.
I3 est un gestionnaire de fenêtres de type tiling (Tiling window manager), si vous avez déjà essayé wmii, alors vous ne serez pas dépaysé, car en fait, il s’agit d’un fork de ce dernier. Avec i3, vous n’attendrez plus trois plombs entre le moment où vous saisissez votre mot de passe et l’ouverture d’une session Gnome Shell, c’est du quasi instantané, sans parler de sa réactivité et consommation basse des ressources.
Pour installer i3, ouvrez un terminal et tapez la commande suivante :
su -c ‘yum install i3′
Pour Debian/Ubuntu :
su -c ‘apt-get install i3′
La prise en main de i3 peut être déroutante au début, mais si vous prenez le temps de lire la documentation sur le site officiel, vous n’aurez aucun mal à vous en sortir. D’autant plus que ça ne vous prendra pas plus d’une demie-heure.
Voilà mon fichier de configuration que j’ai récupéré sur le web et à qui j’ai apporté quelques modifications :
set $mod Mod4

# font for window titles. ISO 10646 = Unicode
#font -misc-fixed-medium-r-normal--13-120-75-75-C-70-iso10646-1

# colors
# class                         border  backgr.    text
client.focused                #444444    #444444 #9ac0cd
client.unfocused                #202020 #202020 #315858
client.focused_inactive            #202020    #202020 #666666
client.urgent                   #212121 #303030 #ee0000
client.background               #101010
font -*-clean-medium-r-*--*-*-*-*-*-*-iso10646-1
# Use Mouse+$mod to drag floating windows to their wanted position
floating_modifier $mod
focus_follows_mouse no

# start a terminal
bindsym $mod+Return exec terminator

# kill focused window
bindsym $mod+Shift+Q kill

# start dmenu (a program launcher)
bindsym $mod+d exec dmenu_run -nb "#101010" -sb "#202020" -nf "#528b8b" -sf "#9ac0cd"

# take a screen shot
bindsym Print exec scrot '%Y-%m-%d_$wx$h.png' -e 'mv $f ~/images/'
# spawn a web browser
bindsym $mod+b exec firefox
# Lancer Thunderbird
bindsym $mod+m exec thunderbird
# Hotot
bindsym $mod+t exec hotot
# audio keys
bindsym XF86AudioRaiseVolume exec amixer set Master 10%+ unmute
bindsym XF86AudioLowerVolume exec amixer set Master 10%- unmute
bindsym XF86AudioMute exec amixer set Master toggle
bindsym XF86AudioStop exec mpc stop
bindsym XF86AudioPlay exec mpc toggle
bindsym XF86AudioNext exec mpc next
bindsym XF86AudioPrev exec mpc prev
# change focus
bindsym $mod+j focus left
bindsym $mod+k focus down
bindsym $mod+l focus up
bindsym $mod+scedilla focus right

# alternatively, you can use the cursor keys:
bindsym $mod+Left focus left
bindsym $mod+Down focus down
bindsym $mod+Up focus up
bindsym $mod+Right focus right

# move focused window
bindsym $mod+Shift+J move left
bindsym $mod+Shift+K move down
bindsym $mod+Shift+L move up
bindsym $mod+Shift+Scedilla move right

# alternatively, you can use the cursor keys:
bindsym $mod+Shift+Left move left
bindsym $mod+Shift+Down move down
bindsym $mod+Shift+Up move up
bindsym $mod+Shift+Right move right

# split in horizontal orientation
bindsym $mod+h split h

# split in vertical orientation
bindsym $mod+v split v

# enter fullscreen mode for the focused container
bindsym $mod+f fullscreen

# change container layout (stacked, tabbed, default)
bindsym $mod+s layout stacking
bindsym $mod+w layout tabbed
bindsym $mod+e layout default

# toggle tiling / floating
bindsym $mod+Shift+space floating toggle

# change focus between tiling / floating windows
bindsym $mod+space focus mode_toggle

# focus the parent container
bindsym $mod+a focus parent

# focus the child container
#bindcode $mod+d focus child

workspace_layout stacking

#Window specific bindings
assign [class="Skype"] Skype
assign [class="Eboard"] FICS
for_window [title="mutt"] move workspace Mail; workspace Mail
assign [class="Icedove"] Mail
for_window [title="ncmpcpp"] move workspace Music; workspace Music
for_window [title="ncmpc"] move workspace Music; workspace Music

# switch to workspace
bindsym $mod+1 workspace 1
bindsym $mod+2 workspace 2
bindsym $mod+3 workspace 3
bindsym $mod+4 workspace 4
bindsym $mod+5 workspace 5
bindsym $mod+6 workspace 6
bindsym $mod+7 workspace 7
bindsym $mod+8 workspace 8
bindsym $mod+9 workspace 9
bindsym $mod+0 workspace 10
bindsym $mod+Control+s workspace Skype
bindsym $mod+Control+m workspace Mail
bindsym $mod+Control+n workspace Music
bindsym $mod+Control+f workspace FICS
# move focused container to workspace
bindsym $mod+Shift+exclam move workspace 1
bindsym $mod+Shift+apostrophe move workspace 2
bindsym $mod+Shift+asciicircum move workspace 3
bindsym $mod+Shift+plus move workspace 4
bindsym $mod+Shift+percent move workspace 5
bindsym $mod+Shift+ampersand move workspace 6
bindsym $mod+Shift+slash move workspace 7
bindsym $mod+Shift+parenleft move workspace 8
bindsym $mod+Shift+parenright move workspace 9
bindsym $mod+Shift+equal move workspace 10

# reload the configuration file
bindsym $mod+Shift+C reload
# restart i3 inplace (preserves your layout/session, can be used to upgrade i3)
bindsym $mod+Shift+R restart
# exit i3 (logs you out of your X session)
bindsym $mod+Shift+E exit

# resize window (you can also use the mouse for that)
mode "resize" {
        # These bindings trigger as soon as you enter the resize mode

        # They resize the border in the direction you pressed, e.g.
        # when pressing left, the window is resized so that it has
        # more space on its left

        bindsym h resize shrink left 10 px or 10 ppt
        bindsym Shift+H resize grow   left 10 px or 10 ppt

        bindsym j resize shrink down 10 px or 10 ppt
        bindsym Shift+J resize grow   down 10 px or 10 ppt

        bindsym k resize shrink up 10 px or 10 ppt
        bindsym Shift+K resize grow   up 10 px or 10 ppt

        bindsym l resize shrink right 10 px or 10 ppt
        bindsym Shift+L resize grow   right 10 px or 10 ppt

        # same bindings, but for the arrow keys
        bindsym Left resize shrink left 10 px or 10 ppt
        bindsym Shift+Left resize grow   left 10 px or 10 ppt

        bindsym Down resize shrink down 10 px or 10 ppt
        bindsym Shift+Down resize grow   down 10 px or 10 ppt

        bindsym Up resize shrink up 10 px or 10 ppt
        bindsym Shift+Up resize grow   up 10 px or 10 ppt

        bindsym Right resize shrink right 10 px or 10 ppt
        bindsym Shift+Right resize grow   right 10 px or 10 ppt

        # back to normal: Enter or Escape
        bindsym Return mode "default"
        bindsym Escape mode "default"
}

bindsym $mod+r mode "resize"

# Start i3bar to display a workspace bar (plus the system information i3status
# finds out, if available)
bar {
        position top
        status_command conky -c ~/.i3conkyrc
        colors {
               background #101010
               statusline #528b8b
               focused_workspace       #dddddd #303030
               active_workspace           #999999 #202020
               inactive_workspace      #528b8b #202020
               urgent_workspace        #da6f00 #404040
        }
}
exec nitrogen --restore &
exec nm-applet &
Pour afficher les informations système, j’ai opté pour conky, mais si vous le souhaitez, vous pouvez utiliser i3status. Si vous choisissez ce dernier, pensez à modifier la lligne “status command” dans votre fichier de configuration. Voilà mon conkyrc :
background no
out_to_x no
out_to_console yes
update_interval 1
total_run_times 0
use_spacer none

TEXT
CPU: {cpu}% | MEM: {color } $memperc% $mem/$memmax | HDD: ${fs_used_perc /}% | UpTime: {color }$uptime| ${time %a %b %d %k:%
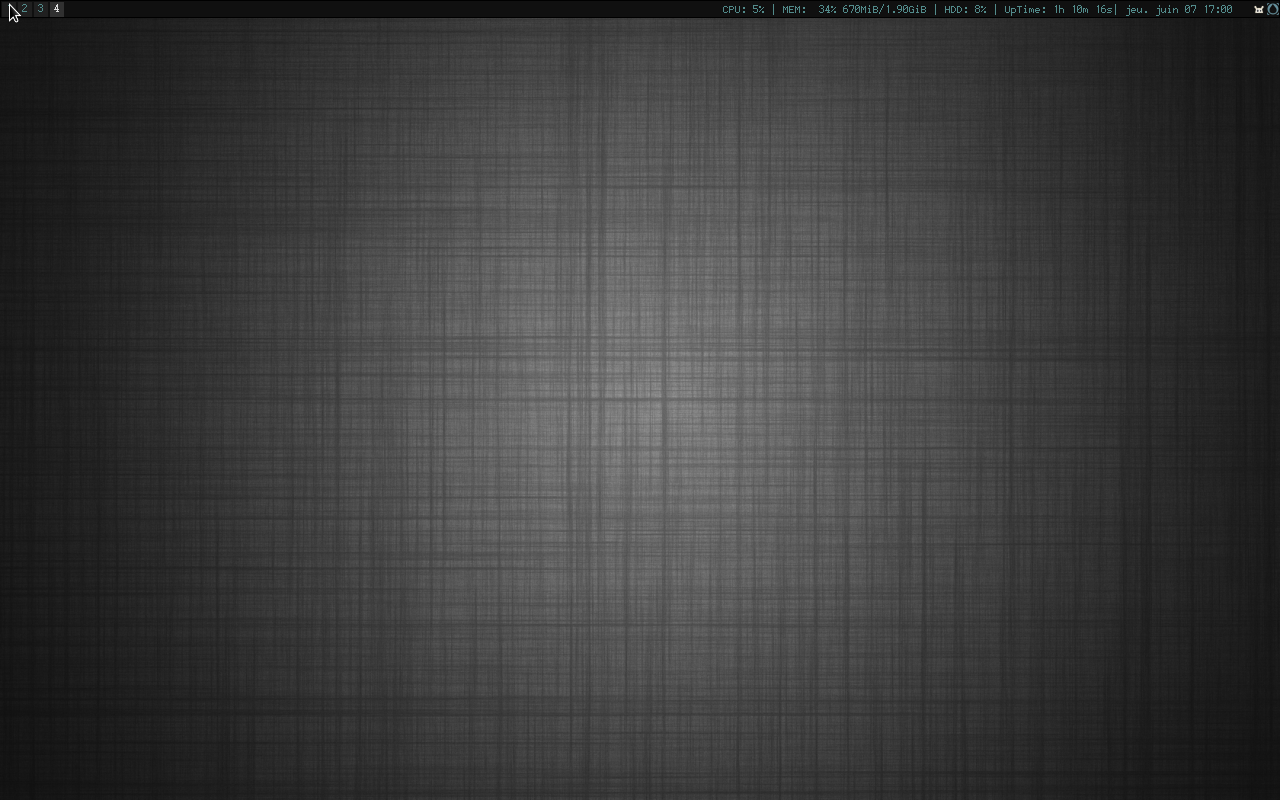
Bien qu’il soit quasi inutile de mettre une image de fond d’écran sous un bureau i3, j’ai quand même mis une. Pour gérer les fonds d’écran, vous pouvez installer “nitrogen”, l’avant dernière ligne de notre fichier de configuration de i3 nous épargnera de le lancer à chaque démarrage d’une nouvelle session. Le fond de mon écran je l’ai piqué sur le site DevianArt.
su -c ‘yum install nitrogen’
Pour le theme GTK et les icônes, eux aussi ont été piochés sur le site DvianArt, pour le premier il s’agit de Malys Revolt disponible ici, quant aux icônes c’est le thème malys uniblue que vous pouvez trouver ici. Et pour gérer les thèmes et les icônes, ainsi que les polices, il faut installer le paquet “lxappearance”.
su -c ‘yum install lxappearance’
Voilà c’est tout, enjoy it ![]()
Related posts:


